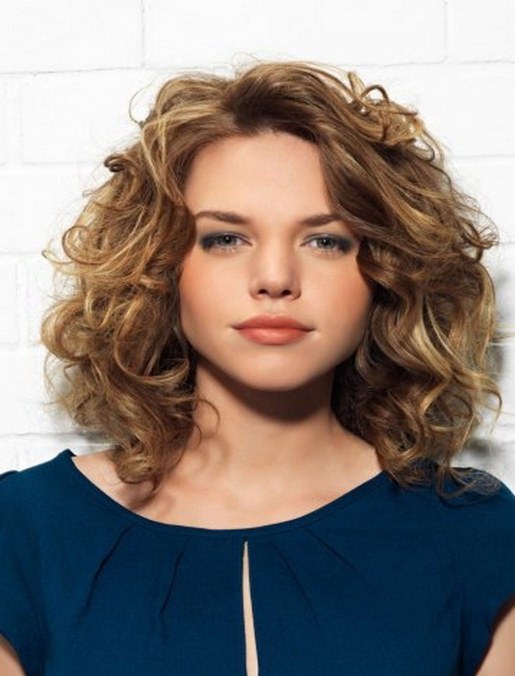
In this article, we are going to guide you about how to glazed curls for round face in some simple steps. There is a belief that medium length curly hairstyles are unattractive and unappealing for a round face because they make excessive volume on the sides of your face. Actually properly curled shape and elongated silhouette present a great shape in the best light. So for that, we have prepared few simple and easy steps that look gorgeous, whenever you opt for glazed curls for a round face.
Every woman loves to add volume and luster to her hair. There are several products in the market for adding shine to your hair, but you can also achieve this look with ceramic plated hair irons. You need not use any chemical shine enhancer as you can do the same without it.
Tutorial to Make Glazed Curls For a Round Face
Step 1: Heat Up the Curling Iron to Make Glazed Curls For a Round Face
Put on your curling iron and heat it up to 430 degrees for thicker hair and 320 degrees for fine hair. You can also test once to know the accurate temperature for your hair. If you could not find it, the best thing is to do it at the lowest temperature. This is will confirm the least damage to your hair.
Step 2: Apply a Heat Protectant to Make Glazed Curls For A Round Face
It is always suggested to apply some heat protectant onto your dry hair. The heat protectant helps stop damage to your hair at high temperature and also add shine to your hair. Make sure you use good quality of heat protectant as protection is the first concern.
Step 3: Curling the Nape Section to Make Glazed Curls For a Round Face
- Spray some hair protectant spray to help prevent your hair from excessive heat.
- Section out enough hair at the back of your neck to shape the first row of curls and clip up other remaining locks.
- Curl the first outer hair at the back, but make sure you keep it away from your face holding the curling iron upside down.
- Curl the other section of your hair same way. Once you reach the top center, start curling the other side. Keep the iron away from the face towards the center.
- Now, you will see the meeting point of the curls in the middle that is overlapping.
Step 4: Curling the Crown Section to Make Glazed Curls For a Round Face
With the same principle, now, curl your crown section. Before you start curling the crown section, you may want to add some volume and lift at the roots, so try backcombing your hair. You can also try the volumizing root spray. So try whatever best suits you and then curl your crown section just like you did nape section.
Step 5: Curl Front and Temple Locks to Make Glazed Curls For a Round Face
Now, when you are done with nape and crown section, it’s time to deal with the temple and front section. The temple locks are also curled same and away from the face just like the face-framing locks. Make sure you flatter all the hair properly under the iron barrel so that each hair strand gets equal heat for a perfect curl.
Step 6: Stretching the Curls to Make Glazed Curls For a Round Face
For a voluminous look shake your curls gently using fingers. Remember not to comb after you curl your hair to avoid frizz. Now you need to stretch your curls gently, guiding them away from the face (see the picture).
Step 7: Final Fixation to Make Glazed Curls For a Round Face
Hairspray is optional. Some people use it for keeping curls stay longer and frizz free. End up your final fixation by spraying some hairspray to hold the curls. If you have thick hair, it is important for you to use hair spray otherwise the curls will lose. Now, you are ready to rock your special day.


